Over spring melt and breakup, you must prepare your landscape to shed water safely: proper grading, perimeter drains, and permeable beds reduce flooding and foundation damage, while timely maintenance prevents ice dams and freeze-thaw destabilization. You should prioritize effective grading and swales and work with professionals to channel meltwater away from structures, protecting your property and access routes.
Key Takeaways:
Anchorage Landscaping: Designing Drainage for Spring Thaw and Breakup
- Grade terrain and install swales or berms to channel meltwater away from buildings and low spots, minimizing flooding and foundation risk.
- Incorporate permeable surfaces and subsurface systems (French drains, culverts, dry wells) to handle rapid runoff and reduce surface pooling.
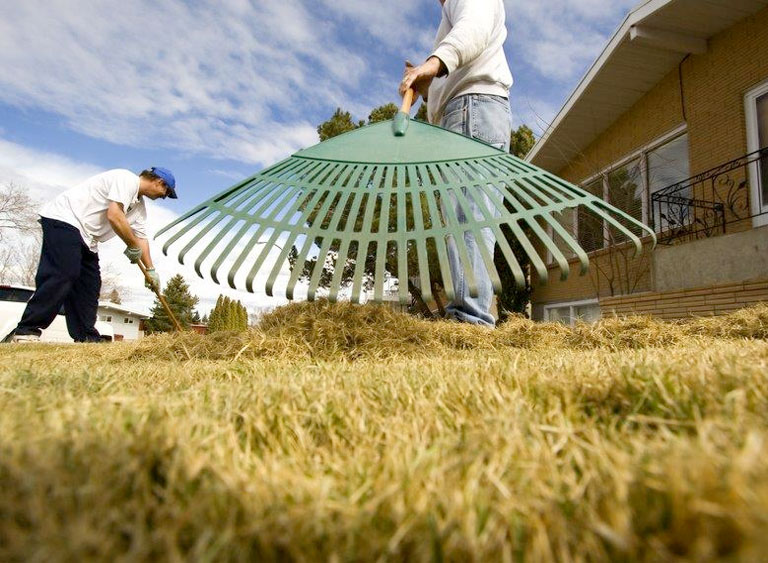
- Schedule seasonal maintenance—clear outlets, inspect gutters/downspouts, and protect beds with mulch or raised planters to limit erosion and waterlogging.
Unique Weather Patterns Affecting Drainage
Anchorage averages roughly 75 inches (190 cm) of snow annually, and during breakup you often see rapid warm rains and repeated freeze–thaw swings that push temperatures from below freezing to around +10°C within days. You’ll face rapid melt runoff, patchy seasonally frozen ground, and coastal moisture that turns snowpacks into fast-moving water; those conditions make infiltration unreliable and demand drainage that handles sudden high flows rather than slow percolation.
Implications of Poor Drainage on Local Landscapes
Poor drainage leaves your lawn saturated for 48–72 hours, increasing root anoxia, fungal rot, and loss of turf and shrubs; subsequent refreeze creates ice hazards on driveways and walkways while runoff concentrates on slopes, causing gullies and sediment loss. You’ll see potted beds and low spots become mosquito habitat and seasonal standing water that shortens plant lifespans and raises maintenance needs.
When damage accumulates, repair costs rise quickly: simple regrading can run $500–$2,000 for a small yard, while installing a perimeter French drain or catch basin system typically costs $2,000–$8,000 depending on soil and length. Structural risks include basement seepage and hydrostatic pressure against foundations—signs like efflorescence, damp drywall, or shifting pavers indicate progressive failure. You should prioritize slope stabilization, targeted drains, and outlet planning to prevent repeated seasonal losses and expensive restoration.
Evaluating Topography and Soil Composition
Map your property’s grades and soil to predict where meltwater will collect: slopes under ~2% often pond, 2–6% produce sheet flow, and slopes above 10% can create concentrated channels and erosion. Sandy soils can infiltrate at rates exceeding ~2 in/hr, loams around 0.2–1 in/hr, and heavy clays often sit below 0.1 in/hr. Watch for pockets of frozen ground or ice lenses that cause surface saturation and near-surface runoff, and mark low-lying turf or bed areas that will be most vulnerable during breakup.
Identifying Natural Water Flow Paths
Trace existing swales, driveways, fence lines, and tree rows to find habitual runoff corridors; 1 inch of melt across one acre equals ~27,154 gallons, so even small catchment areas can move significant volumes. Note snow berms from plowing that redirect flow and low points that trap >2 inches of standing water for days, which cause turf loss and pest breeding. Flag any concentrated flow that runs toward buildings or septic systems.
Use quick field checks during thaw: run a hose or observe a rain event, place stakes to note flow direction, or use a handheld laser level or smartphone topo app to confirm gradients. Calculate rough runoff with typical coefficients—lawns 0.2–0.5, compacted soil 0.6–0.8, roofs/driveways ~0.9—to size swales and pipes. Design swales with 1–3% grade and 6–12 in depth for shallow conveyance, specify 4 in perforated pipe in a gravel envelope for subsurface drains, and avoid directing concentrated flow within 10 ft of foundations without engineered protection.
Grading and Contouring Techniques
Regrade low spots to achieve a minimum 2% slope (about 1/4″ per foot) away from your foundation for at least 10 feet; swales with a 1–3% grade move meltwater to collection points. Use compacted crushed rock under turf to reduce frost heave, and sculpt berms or terraces to slow, direct flow. For heavy clay soils in Anchorage, you may need mechanical loosening and 6–12 inches of amended topsoil to restore permeability and prevent standing water near foundations.
Installing French Drains: Pros and Cons
Place a perforated pipe in a 12–18″ wide trench filled with coarse gravel and wrapped in geotextile to keep fines out; aim for at least 1% slope toward an outlet or sump. Professional installs in cold, rocky sites typically run about $30–$75 per linear foot depending on depth and access. Properly buried drains can clear saturated lawns within a spring season, but require correct outlet planning to avoid creating downstream issues.
Pros and Cons of French Drains
| Pros | Cons |
|---|---|
| Effectively lowers local water table and reduces pooling | Higher upfront cost for excavation and materials |
| Works well in high water-table and poor-drainage soils | Can clog over time if not properly wrapped with geotextile |
| Minimal surface disruption once installed | Installation disturbs existing landscaping and may need restoration |
| Compatible with sump pumps for hard-to-outlet sites | Requires an outlet or pump; improper outlet can cause neighbor conflicts |
| Long service life when installed with quality materials | Frozen or shallow installs risk ice blockage in spring |
| Scalable—works for short yard runs or long property drains | Permits may be required depending on discharge point |
Design with a clear outlet: gravity daylighting is preferred, otherwise tie into a sump with a pump sized to peak spring melt. Typical trench depth ranges from 12–36 inches, but in Anchorage you should place pipe below the active frost zone when feasible (often deeper than 24 inches). Add cleanouts every 50–100 feet and avoid running pipe under large tree roots to limit clogging and root intrusion; inspect annually for sediment buildup.
Pros and Cons of French Drains (Installation & Maintenance)
| Pros | Cons |
|---|---|
| Relatively low maintenance if geotextile and gravel are correct | Periodic flushing or jetting may be needed to clear sediments |
| Reduces long-term foundation and landscaping damage | Improper slope during install renders system ineffective |
| Can be combined with surface grading for robust protection | Rocky ground in Anchorage can increase excavation time and cost |
| Helps protect driveways and walkways from spring saturation | May require coordination with municipal storm systems for discharge |
| Materials (PVC, gravel, fabric) are widely available | Cheap materials or poor installation shorten lifespan |
The Benefits of Local Flora for Managing Water
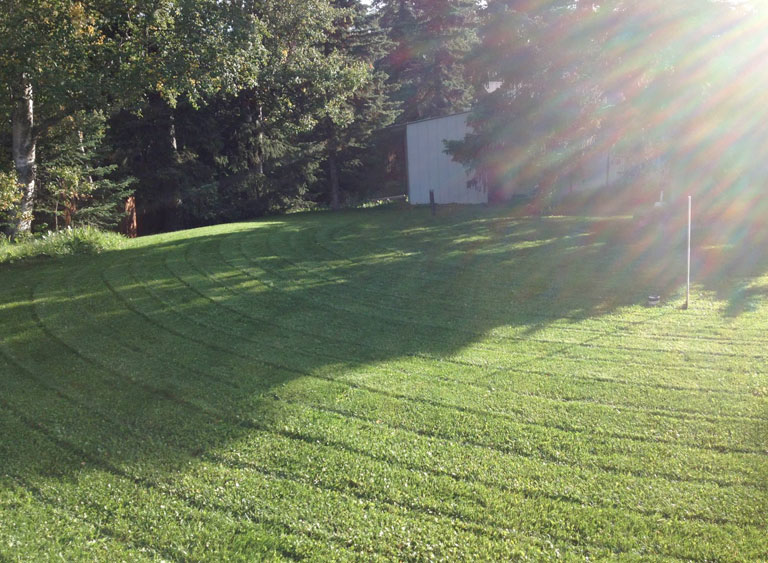
Native species like willows (Salix spp.), Sitka alder (Alnus viridis), tufted hairgrass (Deschampsia cespitosa), and Carex sedges develop fibrous root systems (often reaching 0.5–1.5 m) that increase soil porosity and slow surface runoff. You can use 3–5 m riparian buffers of these plants to reduce bank erosion and trap sediments; in Anchorage projects, switching turf to native-sedge mixes consistently improves infiltration and reduces puddling during breakup.
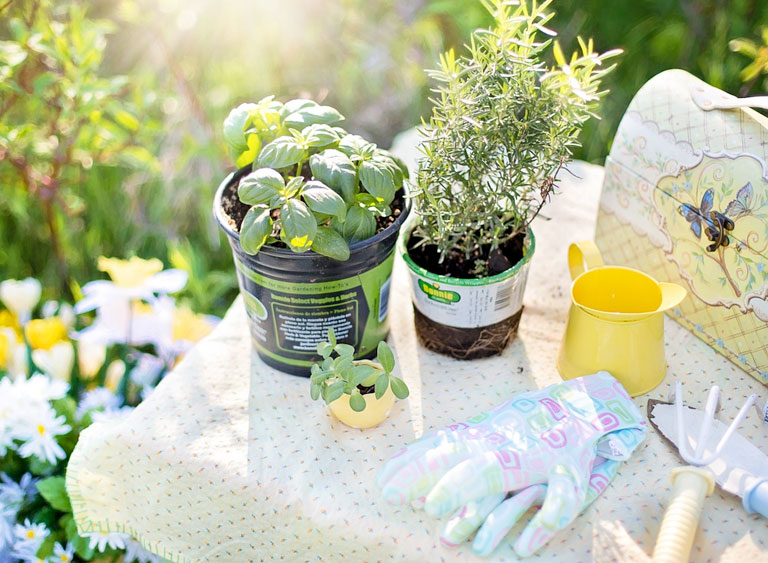
Choosing the Right Plants for Effective Drainage
Select species adapted to seasonal saturation: Carex spp. (water sedges), Salix cuttings, Alnus shrubs, and Deschampsia tolerate wet feet and freeze–thaw cycles. Plant sedge plugs at 6–12 inch spacing for quick mat formation, and place shrubs 1–2 m apart along swales to stabilize banks and increase evapotranspiration during melt.
Match plants to microtopography and soil texture: use sedges and rushes in the low, frequently saturated swale bottom, shrubs on slightly higher bench zones, and tufted grasses on slopes. Construct swales with an engineered planting layer of 30–50 cm sandy loam amended to ~10–30% organic matter to boost infiltration and avoid anaerobic root stress. Use willow cuttings (30–50 cm) pushed into moist soil at 1–2 m spacing for rapid bank reinforcement; install sedge plugs at 6–12 in (15–30 cm) for dense coverage. Prevent compaction—compacted soil can reduce infiltration by over 80%—and plan planting in late May–June after frost recedes so roots establish before the next freeze. Monitor for standing water beyond 48–72 hours, remove aggressive invasives like reed canary grass, and expect most native plantings to stabilize drainage within one to three growing seasons with minimal irrigation after establishment.
Anchorage Landscaping Services: Drainage Design for Spring Melt and Breakup
Integrating Hardscaping for Improved Water Management
The Functionality of Paving and Walkways
Design walkways with a 1–2% slope away from structures, set on a compacted 4–6 inch aggregate base with geotextile beneath to resist frost heave. Choose permeable pavers or spacer joints to let meltwater infiltrate while reducing sheet flow; combine with catchbasins where runoff concentrates. You should size paths to shed peak spring melt and avoid low spots that accumulate standing water and ice.
Utilizing Retaining Walls to Control Erosion
Place retained soil behind walls with 3/4-inch crushed-rock backfill and a 4-inch perforated drain to prevent hydrostatic pressure; include weep holes or daylighted drainage to carry water away. Keep individual wall heights to around 3 feet where possible—walls over that height typically require engineered design and permits.
For sloped yards you can terrace with multiple low walls spaced every 4–6 feet of elevation change, creating level planting benches that slow melt runoff. Use segmental block with geogrid reinforcement for spans over about 3–4 feet, and run the perforated drain to a storm outlet or drywell to avoid saturating soils. Granular backfill and proper compaction reduce frost heave; in Anchorage projects, installing a 4-inch drain with 12–18 inches of crushed rock behind the wall has cut seasonal failures in tested sites, while tiebacks or anchors add stability on steeper banks. Strong attention to drainage details prevents structural failure and dramatically reduces erosion on breakup.
Sustainable Practices for Eco-Friendly Drainage Solutions
Rain Gardens as a Natural Filtration System
You can size a rain garden to about 10% of the contributing impervious area to capture roof and driveway melt; properly planted beds with native sedges, willow and tufted hairgrass filter sediments and uptake nutrients, often retaining roughly 30–50% of annual runoff. Design a 6–12 inch ponding depth with an overflow route to a rain leader or swale to avoid ice buildup on paths, and use a sand-gravel underlayer for Anchorage’s seasonal freeze.
The Impact of Permeable Pavement on Urban Areas
Permeable pavements—pervious concrete, porous asphalt, and interlocking pavers—can infiltrate meltwater at rates commonly between 0.5–3 in/hr depending on the base, lowering peak flows and reducing salt-laden runoff; plan for a 12–24 inch crushed-stone reservoir and schedule vacuum sweeping every 1–3 years to prevent clogging and ponding.
Choose pavement systems based on traffic: interlocking pavers with a stabilized base suit pedestrian areas and light vehicle loads, while pervious concrete with a deeper stone reservoir works for larger parking bays if engineered for frost heave. In cold climates, include a geotextile separator, design for 6–12 inches of storage stone above native soils, and avoid winter sanding where possible—sand can reduce infiltration rates by >50% if not removed. You should budget for routine vacuuming and occasional power-washing, since clogged voids, not freeze-thaw, are the usual failure mode.
Landscaping in Anchorage: Spring Melt Drainage and Safety
Understanding Local Codes and Compliance
You must check Anchorage Municipal requirements before altering grades or redirecting runoff; many projects need a grading or stormwater permit, erosion-control plan, and confirmation you’re not encroaching on utility easements. Permit reviews frequently take 2–6 weeks, and inspections ensure outlets tie into approved conveyances or public storm systems. Contact the municipal stormwater manual and planning department early so your design meets setback, discharge, and erosion standards.
Potential Hazards of Improper Drainage Solutions
Poorly designed systems can cause basement flooding, foundation undermining, ice-covered sidewalks and driveways, and overloaded sewer systems, plus landscape erosion and slope instability. Frozen ground during breakup forces meltwater to run off, increasing ponding and surface ice that creates liability for homeowners and can damage pavement and curbs.
Residential sump pumps typically handle about 20–50 gallons per minute; rapid melts or clogged drains can exceed that, leaving you vulnerable to backups. Proper fixes often include a 4-inch perforated drainpipe in a gravel envelope (12–18″ wide), installed on a minimum 2% slope toward a daylighted swale or approved outlet. DIY diverted downspouts or shallow trenches frequently fail during thaw because of frost heave or insufficient outlet capacity; have your system sized to match local melt rates and municipal outlet rules.
Utilizing Drones for Property Analysis
High-resolution drone surveys produce orthomosaics and DEMs you use to spot micro-swales, low spots, and perched meltwater that traditional walkovers miss. RTK-equipped multirotors regularly deliver ~2–5 cm vertical accuracy and LiDAR drones give sub-10 cm bare‑earth models through vegetation, so you can generate 1‑foot contour intervals and identify ponding risks quickly; contractors report drone surveys can cut on-site survey time by up to 70% on typical residential lots.
Software Solutions for Drainage Planning
You translate drone DEMs into actionable designs with tools like AutoCAD Civil 3D for grading, ArcGIS/QGIS for watershed delineation, and EPA SWMM, HydroCAD or HEC‑RAS for runoff and channel modeling. Run analyses for 2‑ to 10‑year melt events to size swales, culverts, and detention; integrate GIS layers, soils, and existing utilities so your plans avoid directing spring melt toward foundations.
A common workflow imports the drone-derived DEM into Civil 3D to create contours and proposed grades, then exports sub‑catchments to SWMM or HydroCAD to generate hydrographs for 6-, 12- and 24-hour melt pulses; use HEC‑RAS for open-channel velocities where overland flow concentrates. Calibrate models with past breakup observations and spot elevation checks, specify pipe slope and depth with seasonal frost in mind, and simulate sediment and ice clogging scenarios so your final spec includes appropriate cleanouts, grates, and frost-resistant materials to prevent system failure during rapid thaw.
Final Words — Spring Melt Drainage Strategies for Anchorage Landscapes
Drawing together, you should evaluate slopes, grade toward drains, and select permeable surfaces and proper swales to manage spring melt and breakup in your Anchorage landscape. Prioritize routes for runoff, protect foundations with diverted flow, and plan seasonal maintenance like clearing culverts and checking collection basins. With a site-specific plan and proactive upkeep, you can minimize erosion, standing water, and freeze-thaw damage to your yard and structures.
FAQ
Q: What drainage problems do Anchorage yards face during spring melt and breakup?
A: During spring melt Anchorage properties commonly face rapid snowmelt, perched groundwater, poor infiltration in compacted or silty soils, ice lensing and frost heave, and blocked flow paths from snowbanks or ice dams. These conditions can cause standing water, saturated lawns, basement seepage, erosion of slopes, and damage to hardscapes when repeated freeze–thaw cycles occur. Cold-season ice and snow storage areas also concentrate meltwater flows that overwhelm undersized surface drainage.
Q: How does a landscaping service assess a site for spring melt drainage design?
A: A professional assessment maps existing drainage patterns, identifies low spots and snow-storage areas, checks soil texture and compaction (permeability), locates utilities and slope grades, examines roof runoff and downspout locations, and inspects foundation elevations and existing drains. The inspection includes seasonal observations (where water collects during melt), dye tests or probe holes to find shallow groundwater, and consideration of nearby public storm systems or wetlands. Results guide whether surface grading, subsurface drains, storage features, or erosion controls are needed.
Q: What landscape drainage systems and materials perform well for Anchorage spring melt?
A: Effective strategies combine surface and subsurface solutions: regrading to provide 1–2% positive slope away from structures, vegetated swales and berms to slow and direct flow, rock-lined channels where erosion is likely, and French drains or perforated pipe in trenches to intercept shallow groundwater. Dry wells or rain gardens provide temporary storage where soils allow infiltration; where soils are poorly draining, lined detention with controlled outlets or oversized conveyance to municipal storm drains is used. Permeable pavers and bioswales reduce runoff from driveways and patios. Use frost-resistant materials (coarse rock, geotextile) and place pipes below expected frost-disturbance zones or with proper bedding and insulation when needed. Coordinate with local stormwater rules when connecting to public systems.
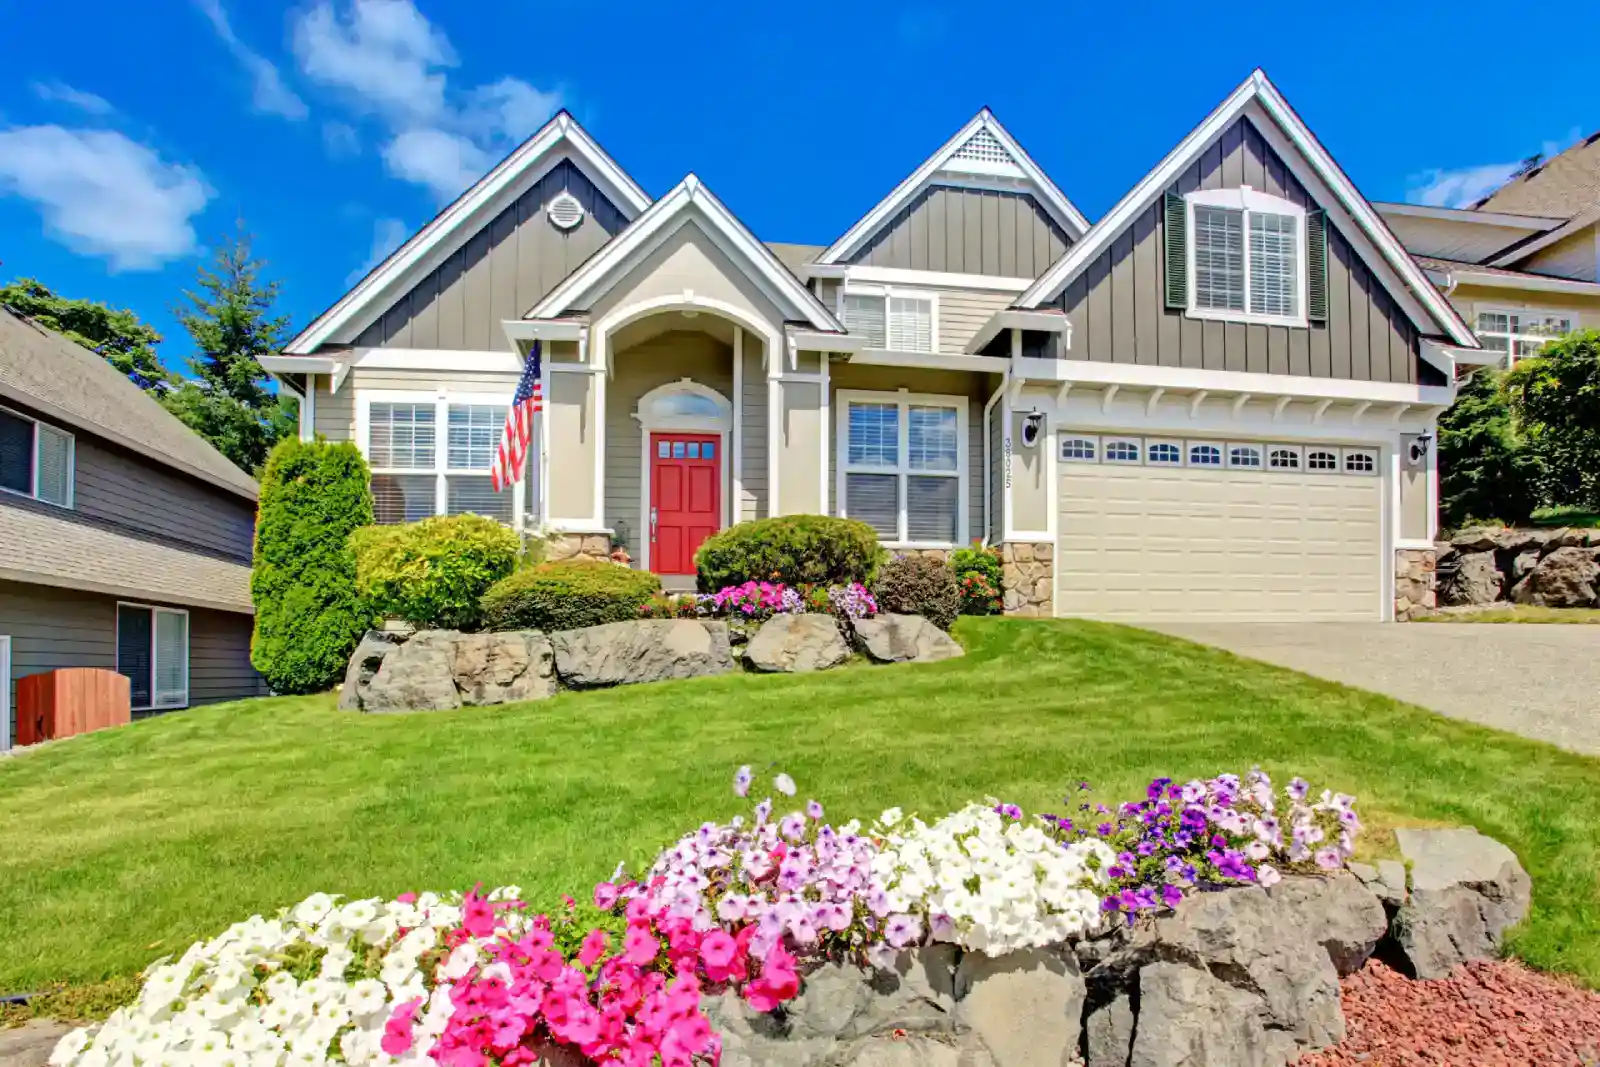
Q: How do you protect foundations, driveways, and lawns from freeze–thaw damage and spring breakup?
A: Maintain positive drainage away from building foundations with consistent slopes and effective downspout routing to dispersal or approved drains. Install perimeter drains (subsurface drainage) to lower shallow groundwater near foundations. For driveways and patios, provide proper base drainage using crushed rock and subdrains; select flexible surfaces or permeable pavements to reduce heaving. Minimize concentrated snow storage against structures, and create designated snow-storage zones with good drainage. Use erosion-control fabrics and graduated riprap on steeper slopes to limit scouring. Design for seasonal movement—avoid brittle rigid connections and allow access for post-winter repairs.
Q: What seasonal maintenance and timing should homeowners follow to reduce spring melt problems?
A: Late winter and early spring tasks include clearing gutters and downspouts before melt begins, ensuring downspout extensions lead water away from the foundation, opening or clearing drain inlets and catch basins, removing dense snowbanks from critical flow paths, and checking sump pumps and backflow valves. After melt, inspect for clogged pipes, sediment in dry wells or basins, erosion at outlets, and any new low spots; regrade, topdress, or replenish rock and vegetation as needed. Schedule major corrective work (regrading, installing subsurface drains) in the frost-free season when soils are workable and permit approvals can be obtained if required.

Jacob Bishop is the founder and CEO of Be Happy Property Services. With a strong background in property management and customer service, Jacob has dedicated himself to creating a company that prioritizes client satisfaction and seamless property experiences. His extensive knowledge and hands-on approach have earned him a reputation for excellence in the industry. Jacob’s passion for real estate and commitment to happy living spaces make him a trusted leader in property services.