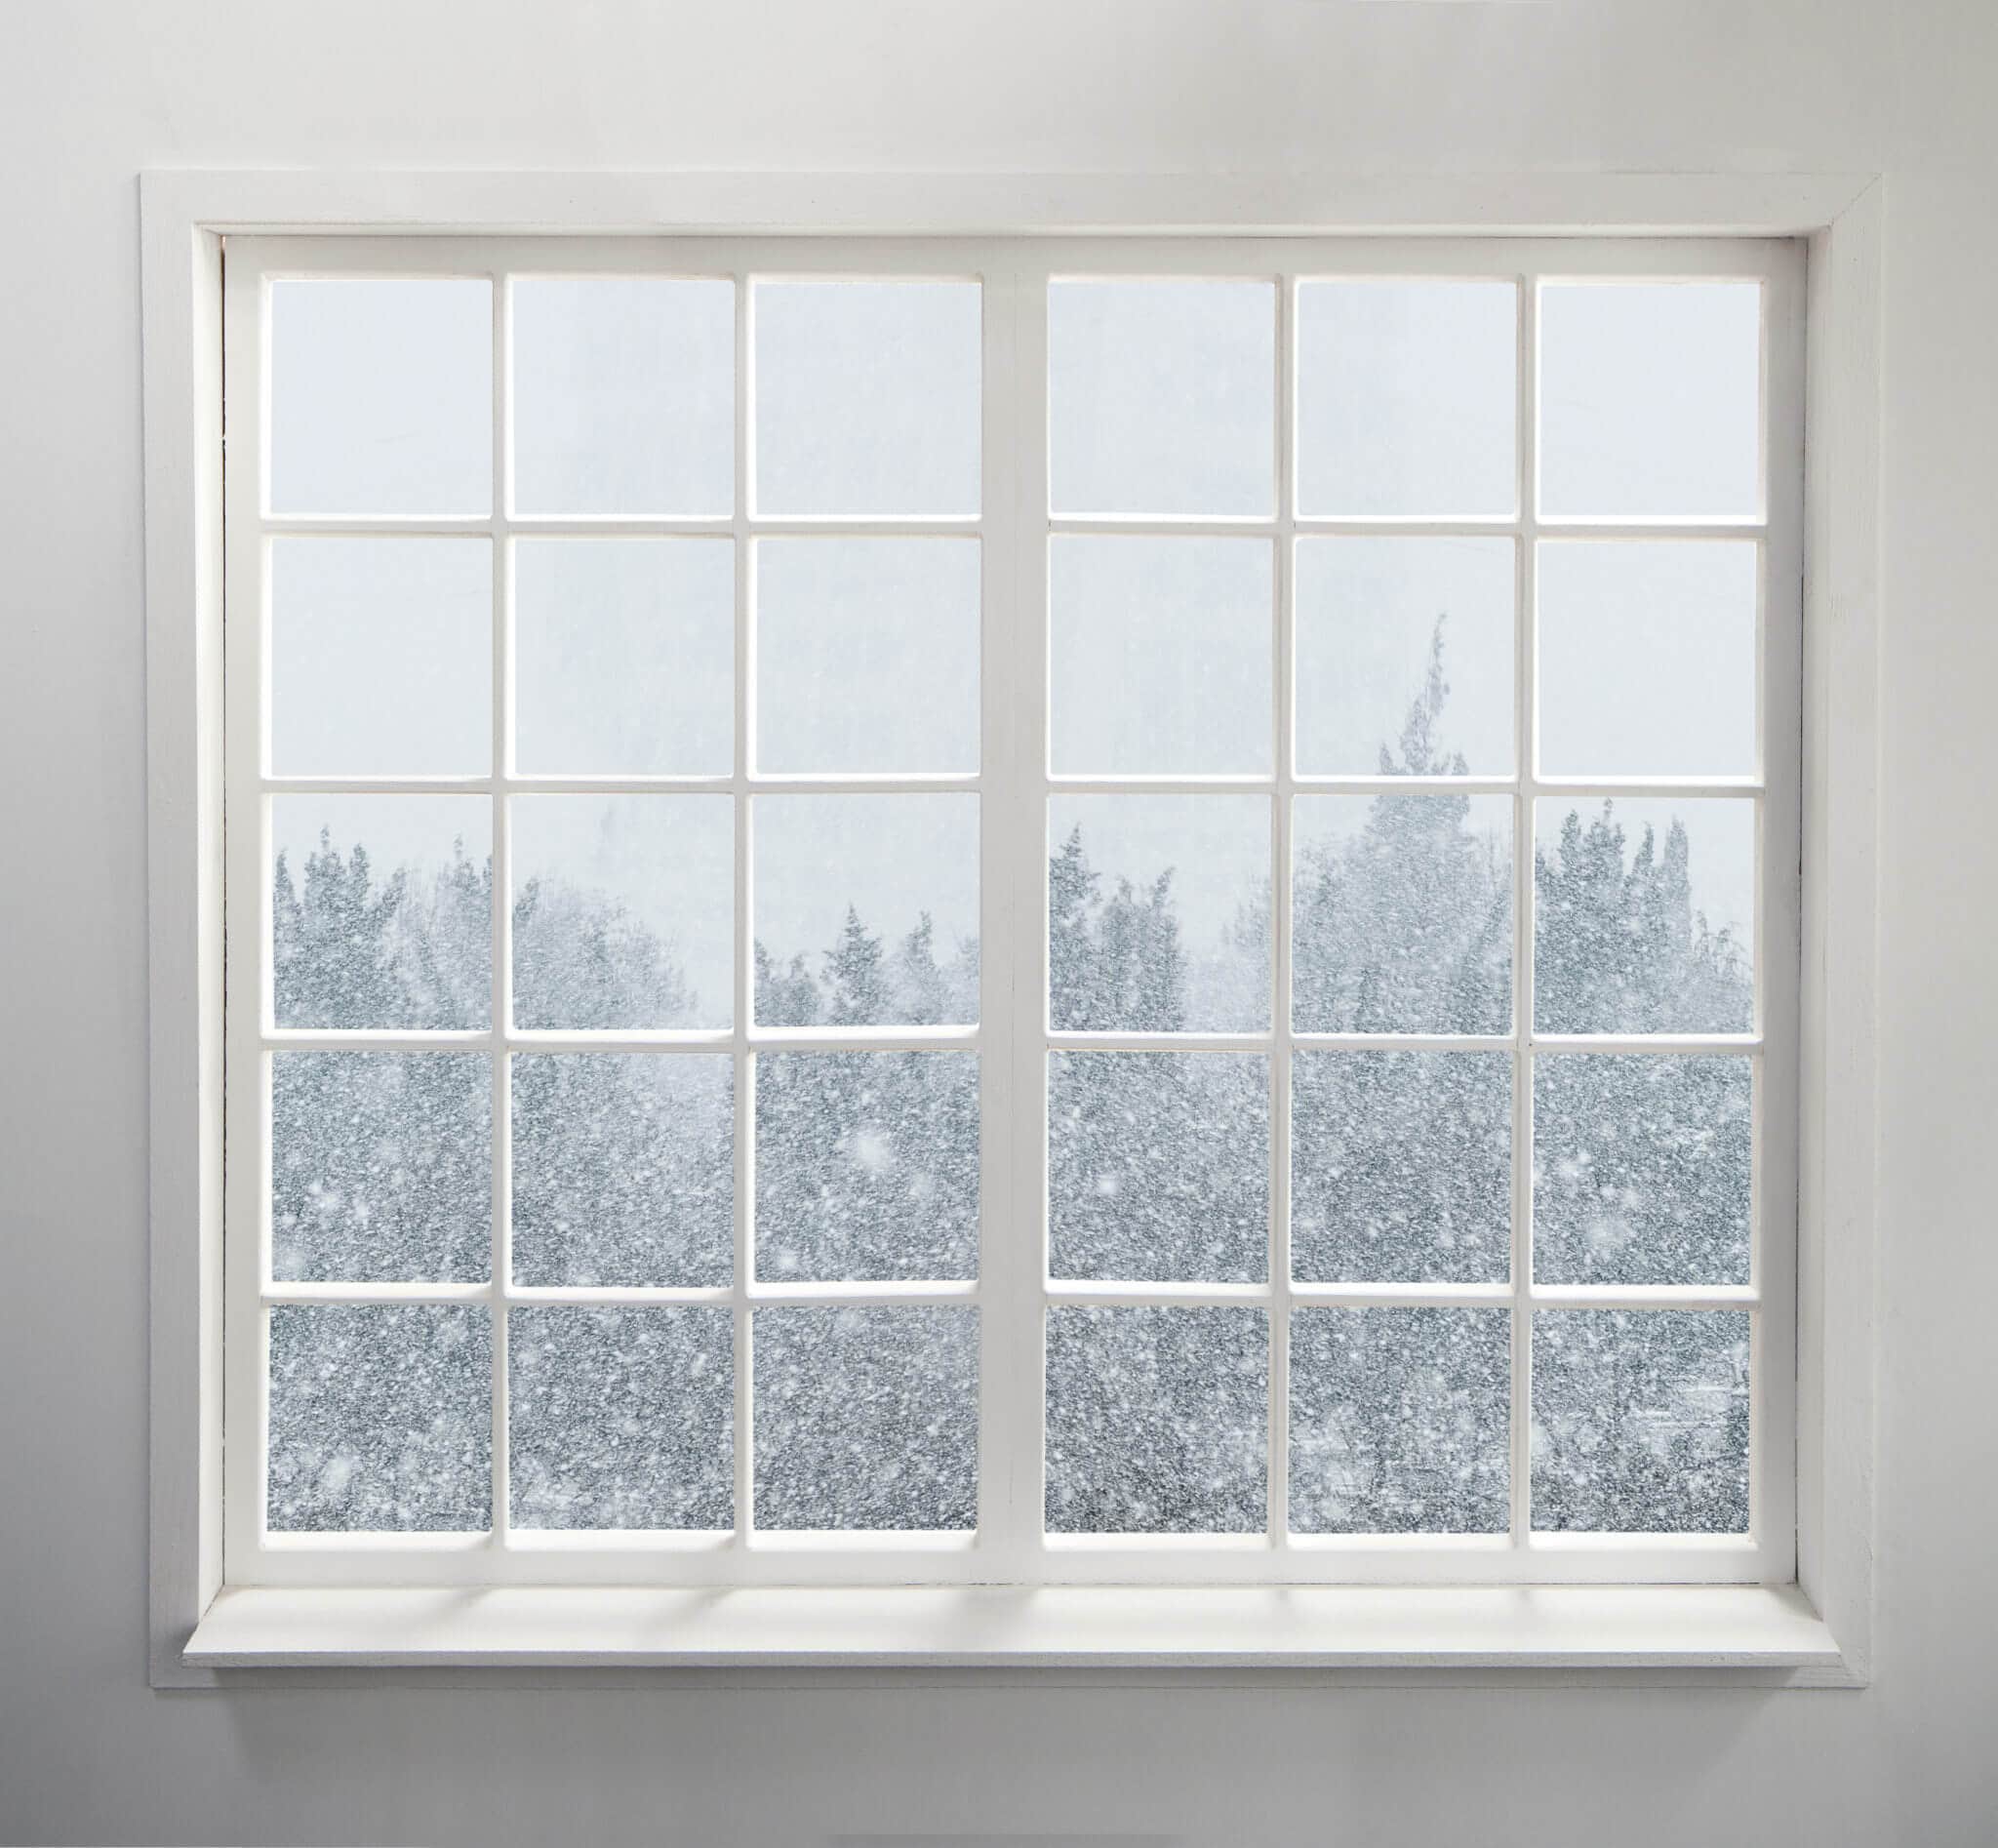
When the first snowflakes dance over the Chugach Mountains, Anchorage residents know winter is on its way. The cold air creeps in through every tiny gap, moisture forms on windowpanes, and heating costs climb. The most effective defense against these challenges begins at your doors and windows. Whether you’re tackling the job yourself or calling in a professional handyman, this guide will help you seal your home for maximum comfort and efficiency.
Why Weatherproofing Is Essential in Anchorage
Anchorage’s winters are unforgiving—temperatures plunge, snow piles up, and the wind howls. Weatherproofing isn’t just about comfort; it’s about protecting your home from damage, reducing energy bills, and maintaining healthy indoor air quality. Properly sealed doors and windows block cold drafts, prevent moisture intrusion, and minimize the risk of ice dams and frozen pipes. By taking action before the first major storm, you’ll ensure your home stays warm, dry, and energy-efficient all winter long.
The Hidden Dangers of Poor Weatherproofing
Neglecting your doors and windows can lead to serious problems:
-
Increased energy bills: Drafts force your furnace to work harder.
-
Moisture damage: Condensation can cause mold, mildew, and rot.
-
Structural wear: Constant exposure to cold and moisture weakens frames and hardware.
-
Noise infiltration: Wind and traffic noise become more pronounced.
Weatherproofing addresses all these issues, making your home more comfortable and resilient.
Where Drafts Hide: The Anatomy of Door and Window Leaks
Most leaks occur at predictable locations:
-
Doors: Top and side jambs, thresholds, hinge and strike sides.
-
Windows: Exterior caulk joints, glazing putty, sash meeting rails, vertical tracks, and weep holes.
A careful inspection can reveal these trouble spots in minutes, saving you from bigger headaches later.
Essential Tools and Materials
You don’t need a professional toolkit—just the right basics:
-
Tape measure, pencil, utility knife
-
Flat bar and screwdriver set
-
Caulk gun and high-quality acrylic-latex or silicone caulk
-
Backer rod for wide gaps
-
Weatherstripping (adhesive foam, EPDM rubber, V-seal)
-
Door sweep or automatic drop sweep
-
Expanding low-expansion foam (for jambs)
-
Painter’s tape, rags, isopropyl alcohol
-
Safety gear: gloves, eye protection, mask
Having these items on hand ensures you’re ready to tackle any weatherproofing project.
Step-by-Step Weatherproofing Guide
1. The Draft Test
Before you begin, identify the leaks:
-
Close all exterior doors and windows.
-
Turn on bath or kitchen fans to create negative pressure.
-
Use a lit incense stick or thin tissue near joints to detect air movement.
-
Mark each leak with painter’s tape.
This simple test guides your weatherproofing efforts.
2. Door Weatherproofing
-
Inspect the reveal: Ensure an even gap around the door. Tighten hinge screws or replace them with longer ones if necessary.
-
Refresh weatherstripping: Remove old strips and install new EPDM rubber or V-seal. Start at the top, then latch side, then hinge side.
-
Tune the threshold: Adjust or replace the threshold and install a quality door sweep.
-
Align the strike and latch: File or shift the strike plate for a snug fit.
-
Consider a storm door: Adds an extra layer of protection against wind and snow.
3. Window Weatherproofing
-
Exterior caulking: Scrape out old caulk, clean the area, insert backer rod for wide gaps, and apply a new bead of paintable caulk.
-
Sash and track sealing: Use V-seal along meeting rails and adhesive foam along vertical tracks.
-
Glass-to-frame seals: Inspect and replace glazing putty or run a fine bead of sealant.
-
Interior film and temporary aids: Install heat-shrink film for added protection.
4. Moisture and Mold Prevention
-
Keep indoor humidity in check with fans and dehumidifiers.
-
Ensure exterior weep holes are unclogged.
-
Address black spots promptly and dry areas thoroughly before resealing.
Energy Savings and Comfort
Sealing just a few linear feet around doors and windows can dramatically reduce heat loss. Homeowners report more even room temperatures, fewer furnace cycles, and lower energy bills. Proper weatherproofing also reduces noise and creates a cozier living environment.
DIY vs. Professional Help
Many weatherproofing tasks can be done as DIY projects, but some situations require a professional:
-
Persistent door sag after adjustments
-
Soft or rotted thresholds, sills, or exterior casing
-
Cracked or failing stucco/siding
-
Multiple windows with fogged insulated glass units
-
Historic or custom wood entries
-
Time constraints
A professional handyman will evaluate the entire opening—frame, flashing, insulation, sealants, and hardware—to stop problems at their source.
Product Choices for Anchorage’s Climate
-
Caulks: High-quality acrylic-latex or hybrid sealants for reliable curing and paintability.
-
Weatherstripping: EPDM bulb for doors, V-seal for windows, adhesive foam as a temporary fix.
-
Sweeps & thresholds: Adjustable components for fine-tuning.
-
Insulation foam: Low-expansion formulas to avoid bowing frames.
Store sealants and foam indoors the night before for better flow and adhesion.
Anchorage-Focused Maintenance Calendar
-
Early Fall: Draft test, replace sweeps, re-caulk windward sides, add interior film.
-
Just Before First Snow: Re-check reveals, clear weep holes and sills, verify storm doors.
-
Mid-Winter: Monitor for new condensation, tighten fasteners after wind events.
-
Spring: Assess seal performance, plan upgrades for next season.
Common Mistakes to Avoid
-
Over-foaming: Use low-expansion foam sparingly.
-
Skipping backer rod: Essential for wide gaps.
-
Crushing seals: Avoid overtight thresholds or overly thick weatherstrips.
-
Ignoring drainage: Keep weep holes clear.
-
One-size-fits-all sweeps: Choose adjustable or contour-matched designs.
Step-by-Step Quick Reference
Door Weatherstripping
-
Clean jambs, remove old adhesive and nails.
-
Measure kerf slots and choose matching bulb seals.
-
Install top strip, then latch side, then hinge side.
-
Adjust threshold and install sweep.
-
Test with a dollar bill and flashlight for light leaks.
-
Fine-tune strike plate and deadbolt alignment.
Window Caulking
-
Scrape out loose caulk, brush away dust, wipe with alcohol.
-
Insert backer rod to set depth.
-
Apply bead at a steady pace, tool with a wet finger.
-
Feather edges to shed water, avoid gaps at corners.
-
Allow curing time before painting or exposure.
Troubleshooting Guide
-
Draft at door handle height: Replace jamb seal or adjust strike.
-
Light under the door: Raise threshold or replace sweep.
-
Cold air around window locks: Add V-seal and ensure locks pull sashes tight.
-
Condensation on sills: Ventilate, use insulated shades, confirm exterior caulk lines.
-
Rattle in strong winds: Check reveal, add targeted weatherstripping, tighten fasteners.
The Be Happy Property Services Approach
When you book a professional handyman service for pre-winter care, expect:
-
Assessment: Draft testing, reveal verification, caulk line inspection, moisture pathway check.
-
Plan: Prioritized list of immediate fixes, optional upgrades.
-
Execution: Installation of long-wearing seals, threshold adjustments, re-caulking, moisture management.
-
Quality Check: Draft testing and latch adjustments.
-
Care Tips: Upkeep guidance for freeze-thaw cycles.
Smart Upgrades to Consider
-
Storm panels or interior inserts for windiest exposures
-
Automatic door bottoms for high-traffic entries
-
Insulated shades or thermal curtains in bedrooms
-
Kerf-in conversions for older wood jambs
-
Threshold replacements with thermal breaks.
Quick Prep Checklist
-
Draft test all exterior doors and main windows
-
Replace door sweeps; adjust thresholds
-
Install or replace jamb weatherstripping
-
Re-caulk exterior casings and siding transitions
-
Clear weep holes; check sill slopes
-
Add interior film to coldest rooms if needed
-
Confirm locks draw sashes and doors tight
-
Re-check after the first cold snap.
Ready for Anchorage’s First Snow?
The difference between a drafty season and a cozy one comes down to targeted, early fixes. If you want help zeroing in on the worst offenders or you’re short on time, schedule a professional handyman service and head into winter confident that your home is sealed, safe, and comfortable.
Frequently Asked Questions
1. How early should I weatherproof in Anchorage?
Aim for early fall. Temperatures are kinder to sealants, and you’ll avoid rushing when the forecast calls for the first snow.
2. Will weatherstripping make my door hard to close?
It shouldn’t. If installed correctly and sized right, the door should close firmly without a slam. Adjust thresholds and strike plates for a balanced seal.
3. What’s the best seal for a main entry door?
A durable EPDM bulb in the jamb and a quality adjustable sweep (or automatic drop sweep) at the bottom. This combo handles frequent use and shifting temps.
4. Do I need to re-caulk every year?
Not usually. Good prep and compatible caulk can last several seasons. Inspect lines annually and touch up areas that have cracked or separated.
5. Are interior window films worth it?
Yes—especially for the chilliest rooms or older windows. They add a clear air barrier that noticeably reduces drafts and evening chill.

Jacob Bishop is the founder and CEO of Be Happy Property Services. With a strong background in property management and customer service, Jacob has dedicated himself to creating a company that prioritizes client satisfaction and seamless property experiences. His extensive knowledge and hands-on approach have earned him a reputation for excellence in the industry. Jacob’s passion for real estate and commitment to happy living spaces make him a trusted leader in property services.