Anchorage winters are no joke—snow piles up fast, and ice dams are a real threat to your roof and family’s safety. Using a roof rake the right way can make all the difference, but mistakes can lead to serious damage or even injury. This guide covers everything you need to know about roof rake safety, from choosing the right tools to recognizing when it’s time to call in the pros.
Why Roof Rake Safety Is Essential
Snow and ice on your roof aren’t just a nuisance—they can cause major problems. Too much weight can lead to roof collapse, falling ice can hurt people or damage property, and ice dams can cause expensive water leaks. By learning safe roof raking techniques and using the right gear, you protect your home and everyone inside.
How to Choose the Best Roof Rake
Not all roof rakes are created equal. Look for a telescoping model that reaches 12–24 feet and weighs less than 6 pounds. The blade should be made of poly or foam to protect your shingles, and the pole should be lightweight aluminum for easy handling. Features like rollers, padded edges, and non-slip grips make raking safer and more efficient. Detachable heads are great for storage and transport.
Safe Roof Raking Techniques
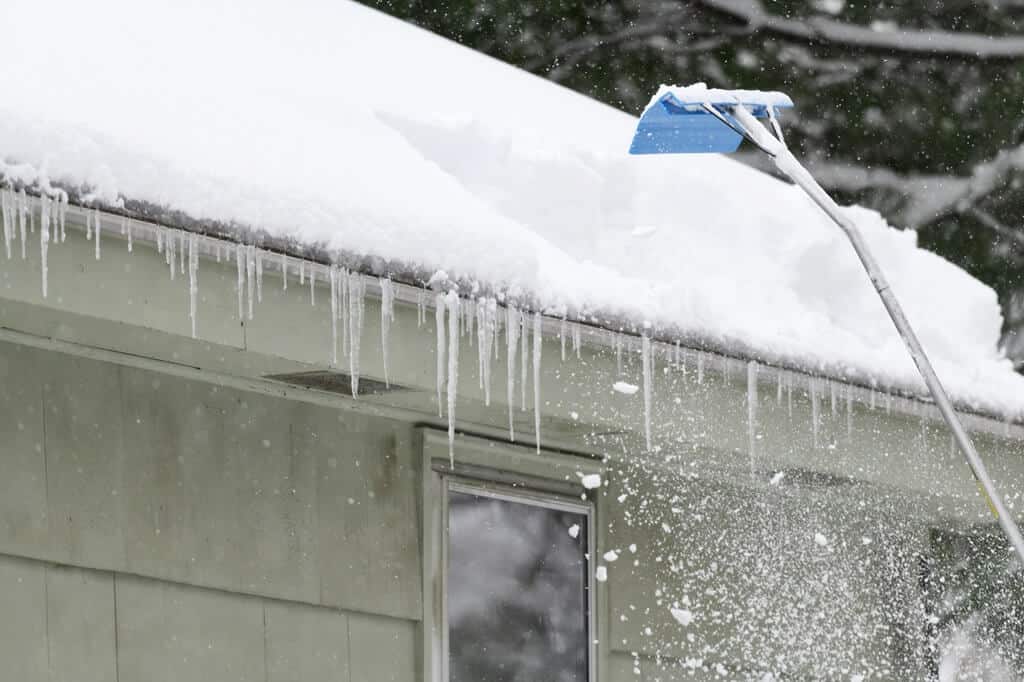
Always use your roof rake from the ground or a stable deck—never from the roof itself. Keep at least 10 feet away from power lines and use slow, controlled strokes to remove snow. Take off about 2–3 inches per pass to avoid sudden load shifts that can damage your roof or cause injury. Keep your feet shoulder-width apart, use your leg muscles, and stop before the blade scrapes your shingles to prevent leaks.
Wet snow is heavy—about 15–20 lb/ft³—so a 10×10 ft area with 6 inches of wet snow can weigh over 1,000 pounds. Limit each pass and work in sections to avoid fatigue and excessive stress on your roof. If you need to use a ladder, have a partner hold the base, tie off your tools, and wear a safety harness rated for fall arrest.
Must-Have Safety Gear
Protect yourself with insulated, waterproof gloves, an impact-resistant helmet, and ice cleats on your boots. Use a telescoping roof rake from the ground whenever possible. If you must access the roof, use a fall-arrest harness that meets ANSI Z359 standards, attached to an anchor rated at least 5,000 lb (22 kN), along with a shock-absorbing lanyard and a competent partner spotting you.
When to Rake and When to Stop
Avoid raking during high winds (over 25 mph), active heavy snowfall, or when your roof is glazed with ice thicker than 1/4 inch. These conditions increase the risk of slips and falls. Choose calm, daylight windows after checking the local NOAA forecast, and aim for temperatures above -10°F to reduce frostbite and brittle-surface hazards.
Raking during active snowfall or after daytime melt followed by freezing nights can make ice dams worse. Target early morning or late morning on clear days when the roof is mostly frozen but not covered with new snow. If eave buildup exceeds 3–4 inches, remove it before the next warm spell to prevent rapid refreeze and dam formation.
When to Call a Professional
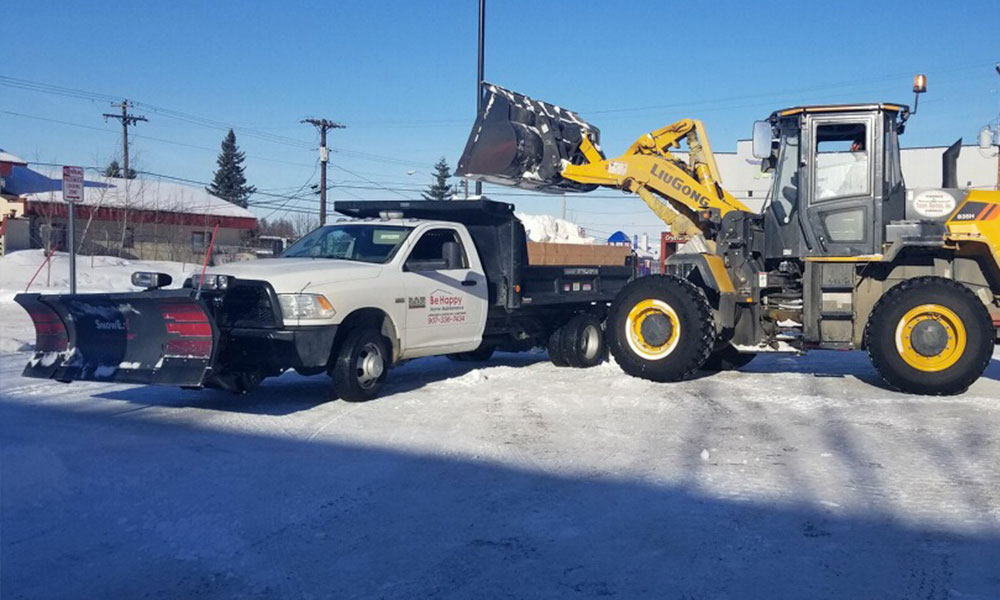
Heavy snow buildup, stubborn ice dams, or any signs of roof stress (like sagging or cracking) require professional help. Local Anchorage companies offer roof raking, professional roof shoveling, ice dam removal, heated cable installation, and emergency snow hauling. DIY removal risks falls, broken ladders, and roof damage, so hire professionals for complex jobs or when safety is in question.
Community Resources and Support
Anchorage offers workshops and local services for safe snow removal. Many providers offer roof inspections, permit assistance, and 24/7 storm response. You can book seasonal contracts or one-time calls. Workshops typically include live roof-rake practice, ladder-angle training, and spotting early ice-dam signs, so you know when to stop and call a pro. You’ll also learn to estimate snow load—Anchorage averages about 75 inches annually—and why attic upgrades (aiming for R-49 insulation) plus balanced soffit-to-ridge ventilation reduce heat loss that drives ice dams.
Frequently Asked Questions
1. What are the dangers of improper roof raking?
Improper roof raking can lead to serious injuries, roof damage, and even catastrophic failures. Using the wrong technique or equipment can cause falls, broken ladders, and structural damage. Always use a roof rake from the ground, wear protective gear, and avoid scraping shingles to prevent leaks.
2. How do I know if I need professional help for snow removal?
Call a professional if you see heavy snow buildup, stubborn ice dams, or any signs of roof stress like sagging, cracking, or leaks. Professionals have the right equipment and expertise to remove snow safely and prevent further damage.
3. What safety gear should I use for roof raking?
Essential safety gear includes insulated, waterproof gloves, an impact-resistant helmet, ice cleats on boots, and a telescoping roof rake. If you must access the roof, use a fall-arrest harness meeting ANSI Z359 standards, attached to a 5,000 lb anchor, and have a competent partner spotting you.
4. How can I prevent ice dams on my roof?
Prevent ice dams by improving attic insulation (aim for R-49) and ventilation, keeping eaves and gutters clear, and using safe ice-melt methods. Rake snow before it builds up, especially after storms, and avoid raking during active snowfall or melt-refreeze cycles.
5. What are the benefits of attending a local snow removal workshop?
Local workshops teach you safe roof-raking techniques, ladder-angle training, and how to spot early ice-dam signs. You’ll learn to estimate snow load, improve attic insulation, and reduce heat loss that drives ice dams. Workshops also provide checklists and local vendor contacts for ongoing support.

Jacob Bishop is the founder and CEO of Be Happy Property Services. With a strong background in property management and customer service, Jacob has dedicated himself to creating a company that prioritizes client satisfaction and seamless property experiences. His extensive knowledge and hands-on approach have earned him a reputation for excellence in the industry. Jacob’s passion for real estate and commitment to happy living spaces make him a trusted leader in property services.