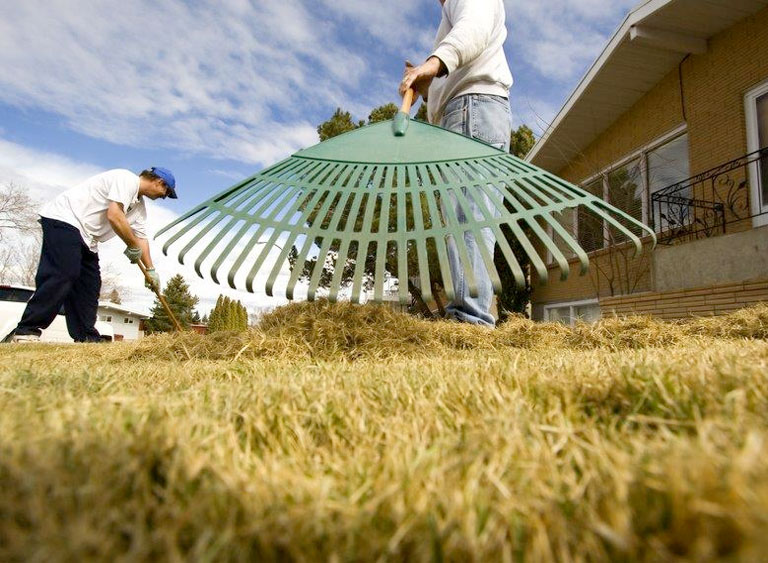
If your basement smells musty after rain or you’ve spotted damp corners creeping along the slab, the issue may start outside—specifically with grading to prevent water in basement problems. Set the ground to slope away from your foundation, so water flows out and stays out. In this guide, you’ll learn how grading works, how to assess your yard’s slope, and which fixes offer the longest-lasting protection.
Why Grading Matters More Than You Think
Water follows gravity. If the soil around your home tilts toward the foundation—even slightly—runoff and roof-shed collect along the walls. Over time, that moisture can:
- Seep through hairline cracks and mortar joints
- Swell clay soils, loading pressure against your walls
- Feed mold and mildew in wall cavities and carpet pads
- Shorten the life of finishes, flooring, and stored belongings
Grading tackles the root cause by reshaping the topsoil to create a controlled, predictable path for water to move away from the structure. Compared with interior waterproofing or continuous dehumidifier use, re-establishing a positive slope is often the quickest and most cost-effective first step. When done right, grading to prevent water in the basement redirects roof runoff and stormwater before it can pressurize your walls or seep through cracks.
The Target Slope (And Why It Works)
A practical rule of thumb for residential yards is a minimum 5% slope for the first 10 feet away from the foundation. That’s a drop of about 6 inches over 10 feet. When space is limited, you can increase the slope over a shorter distance; the goal is a clear, uninterrupted path that sheds water, from core to grading, to effectively prevent water in basement.
Key details that make this work:
- Continuous grade: Any low pocket next to the house becomes a water bowl. Keep the slope unbroken for the first 6–10 feet.
- Transitions: Blend into the surrounding lawn to avoid creating trip hazards or mower scalping.
- Surface material: Topsoil with healthy turf or groundcover slows erosion while still allowing runoff to move.
- Complementary drainage: Downspouts, swales, and drains should assist the grade, not fight it.
Quick Yard Check: Is Your Slope Helping or Hurting?
You don’t need advanced tools to get an initial read. Try these quick checks after a normal rainfall:
- Puddle patrol: Do puddles linger near the foundation for more than 24 hours? That signals a negative slope or compacted soil.
- Mulch migration: If mulch lines creep toward the house, water is already setting its course.
- Wet line on walls: A recurring damp band at the base of basement walls points to exterior drainage issues.
- Soggy strip: Walk the perimeter. A consistently spongy strip is a red flag.
For a more precise look, use any of the following:
- String-line test: Tie a string between two stakes 10 feet apart, level it, then measure the vertical difference at the house stake. Aim for ~6 inches.
- Straight board + level: Set an eight- to ten-foot 2×4 on the ground with a level on top. Measure the gap at the downhill end.
- Smartphone clinometer: Many phones have angle apps. A 5% slope is roughly a 2.9° angle.
The Grading Game Plan (Step-By-Step)
1) Map the Water
Watch how water moves during a moderate storm. Note roof valleys, downspout discharge points, walkways, and landscape borders that shape flow. Sketch a quick plan marking high points, low points, and intended outlets (street, side yard, swale). This will guide your grading to prevent water in basement.
2) Protect What’s There
Before you dig, call to mark utilities and identify irrigation lines. Set aside plantings you want to keep. Snap photos of existing turf patterns to support later touch-ups and avoid leaving uneven seams.
3) Set the Finished Elevation at the Foundation
Your finished soil should sit 2–8 inches below the siding (never bury the siding) and just below the top of the foundation ledge, if visible. Around masonry, leave a splash area without creating a dirt shelf that traps water. This clearance prevents moisture from wicking into materials that were never intended for burial.
4) Establish the Slope
Work in shallow lifts. Pull soil from the foundation outward so the first 6–10 feet form a smooth, continuous plane that falls away at ~5% or better. Use a long, straight edge or string to confirm the drop. Compact lightly as you go to reduce future settling and avoid flattening your grade.
5) Tie Into the Yard
Blend the new grade into existing lawn contours so you don’t leave a trench at the 10-foot mark. If your yard rises again, create a broad swale—a shallow, grassed channel—to carry water around the house. A good swale is easy to mow, blends visually, and directs flow without becoming a hazard.
6) Reinforce the Surface
Cap with 2–3 inches of high-quality topsoil, seed with a tough turf mix, or install sod. Vegetation helps prevent erosion while allowing water to flow along the surface. On shady or high-traffic sides, consider stone mulch over landscape fabric (not plastic) to stabilize the slope. Stone won’t float and redeposit against the wall during heavy storms.
7) Reroute Downspouts
Extenders or buried drain lines should carry roof water at least 10 feet from the foundation before daylighting on grade or entering a drain system. Don’t dump high-volume roof runoff back onto freshly graded soil near the wall. Pairing extensions with grading to prevent basement water intrusion keeps roof runoff from re-entering the foundation zone.
Materials That Make Grading Work
- Clean fill soil (for building shape): A compactable mineral soil—often subsoil—creates the backbone of the slope.
- Topsoil (for surface and planting): Add organics for turf health, but avoid overly spongy mixes that settle too much.
- Turf or groundcover: Roots knit the top layer together, reducing erosion.
- River rock or angular gravel: Useful where vegetation struggles (tight side yards, heavy shade) or under splash blocks.
- Edging, boulders, or low retaining elements: When space is tight, these help hold grade transitions without steep, slippery slopes.
Common Slope Problems (And How to Fix Them)
Problem: Negative grade at one corner
Fix: Feather 6–8 feet of fill soil away from the wall, ensuring a 5–6 inch drop over 10 feet. Extend downspout discharge beyond the new slope.
Problem: High walkway or patio against the wall
Fix: If the hardscape sits level with or above the interior slab height, you may need a channel drain along the joint and regrading adjacent soil to direct water away from the slab edge.
Problem: Settled backfill years after construction
Fix: Add compactable soil in lifts against the foundation to refill the slump, then cap with topsoil and turf. Re-evaluate downspout extensions to keep the area dry.
Problem: Steep lot sheds water toward your home
Fix: Create an intercepting swale uphill of the foundation, or use a low, well-drained berm to redirect flow around the sides.
Problem: Tight side yard
Fix: When you can’t achieve 10 feet of run, increase the slope over 4–6 feet and combine it with a stone strip or a narrow swale that outlets safely.
Grading vs. Drains: When to Add Hardware
While grading to prevent water in basement handles routine rain, drains help when space or neighboring runoff overwhelms the surface slope:
- Space is limited, and you can’t reach 5% over 10 feet
- Neighboring properties send additional runoff your way
- Hardscape blocks natural paths, and you need to “collect and convey” water
Options to consider:
- Swales: Shallow, grassed channels that are mower-friendly and blend into lawns
- French drains: Perforated pipe in gravel that intercepts shallow groundwater—best as a complement to proper surface slope
- Channel/linear drains: Great at the base of driveways or patios that slope toward the house
- Dry wells/outlets: Only if they can truly drain; never inject stormwater into soils that stay wet
Even with drains in place, surface grading remains the first line of defense. It keeps leaves, sediment, and ice from overwhelming small capture points.
Landscaping That Supports a Dry Basement
- Mulch wisely: Keep mulch 2–3 inches deep and at least a few inches below siding. Heavy, floating bark can clog drains and move toward the foundation; consider stone in problem spots.
- Beds as water guides: Curve beds so they steer water along your intended path instead of trapping it against the wall.
- Plant placement: Avoid thirsty shrubs right up against the foundation if they require frequent watering.
- Edging and border heights: Keep edging slightly lower on the yard side to allow water to drain from the bed.
Seasonal Care That Protects Your Slope
- Spring: Rake away thatch, refill any winter-heaved low spots, and reseed thin turf to maintain a tight mat.
- Summer: Monitor irrigation spray patterns to avoid soaking the foundation zone.
- Fall: Extend downspouts before the rainy season, tighten gutter joints, and clear leaves from swales.
- Winter: Direct snowmelt away from the house. After plowing or shoveling, avoid piling snow against foundation walls where meltwater can pool and refreeze.
The 10-Minute Inspection Checklist
- Walk the full perimeter after a rain.
- Note any standing water within 6–10 feet of the foundation.
- Confirm downspouts extend 10 feet or more.
- Ensure the soil remains below the siding and weep screeds.
- Look for mulch lines creeping toward the house.
- Test a couple of spots with a board + level—aim for ~6 inches of drop over 10 feet.
- Verify that walkways, patios, and driveways do not direct water back to the wall.
- Trace the path of the water after it leaves the first 10 feet.
- Mark focuses on a sketch so changes work together.
- Re-check after your next storm to confirm results.
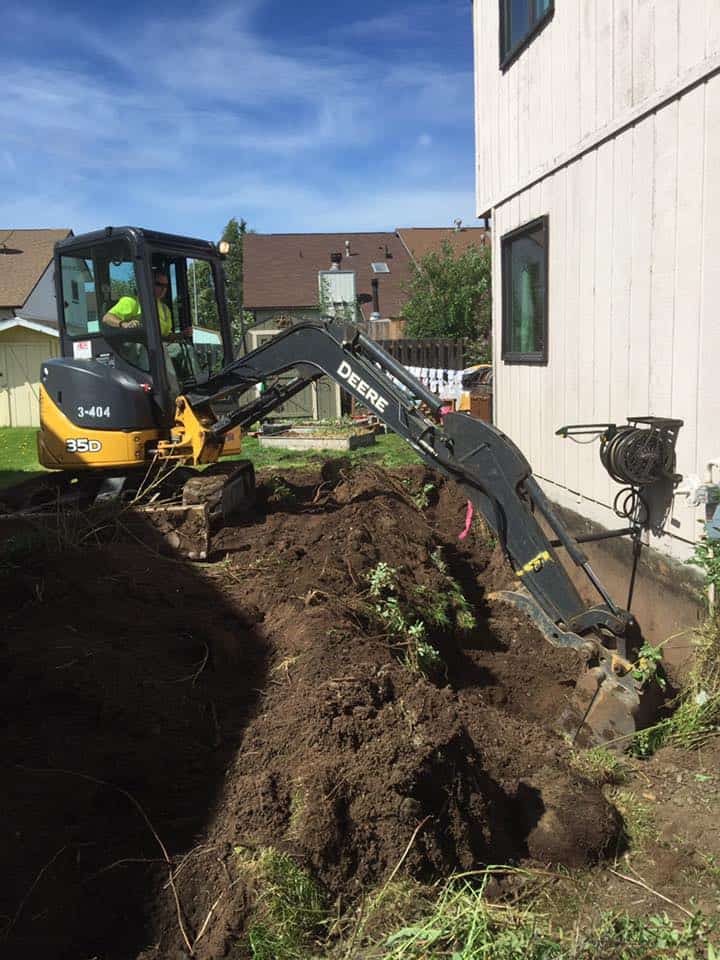
When DIY Isn’t Enough
If you’re fighting a steep lot, a narrow side yard, or stubborn wet zones, a tailored grading plan can save you multiple rounds of trial and error. Professional crews can laser-check elevations, fine-tune swales, and integrate drains where needed so the entire system works as one. For an in-depth look at grading to prevent water in basement, this guide shows how small exterior adjustments translate into a drier basement inside.
Examples: Putting Grading to Work Around Your Home
Front yard with short setback
Where sidewalk space is limited, gently raise the grade for the first 4–6 feet, then direct water into a shallow swale that runs parallel to the front walk before turning toward a safe outlet. Choose tough turf or a low groundcover along the swale to hold soil.
Backyard patio that’s nearly level
If the patio sits close to the interior slab height, install a narrow channel drain along the patio-house joint and pitch the adjacent soil away at 5–8%. This provides surface water with an immediate outlet while the drain handles overflow during downpours.
Side yard between two homes
In tight corridors, a stone strip over landscape fabric can stabilize a steeper near-house slope. Blend this into a grassed swale set closer to the property line (respecting drainage rules), so water has a defined lane that won’t erode.
Walkout basement on a gentle hill
Use a broad, mower-friendly swale a few feet upslope from the wall to intercept water before it reaches the foundation. Tie downspouts into this swale so they cooperate with the hillside’s natural flow paths.
The driveway that leans toward the garage
Where re-pouring isn’t on the table, set a linear drain at the threshold and re-grade flanking soil beds to steer water to side-yard outlets. Replace the loose mulch near the drain with angular stone that stays in place during heavy rain.
Mistakes to Avoid During Grading
- Burying siding or covering weep holes
- Creating a steep ramp that’s hard to mow or walk on
- Dumping downspout water onto the new slope near the wall
- Using plastic sheeting under mulch (it traps water where you don’t want it)
- Forgetting to compact in thin lifts, leading to quick settling and lost slope
- Leaving the first 6–10 feet bumpy or pocketed—small dips become puddles that undo your work
Maintenance After You Re-Grade
- Inspect after the first two or three storms and fill any minor low spots.
- Keep turf healthy by watering moderately, avoiding saturation of the foundation zone.
- Clean out channel drains and leaf-prone swales each season.
- Recheck downspout extensions after snow removal or landscaping changes.
- Topdress with a thin layer of soil and reseed bare patches to maintain a strong root mat.
FAQ: Grading to Prevent Water in Basement
1) How much slope do I really need?
Aim for about a 5% slope—roughly 6 inches of drop over the first 10 feet away from your foundation. If you don’t have 10 feet, increase the slope over a shorter distance and consider a swale for carry-off.
2) Will adding soil against the house trap moisture?
Not if it’s done correctly. Keep soil a few inches below the siding or brick ledges, maintain a 5% slope, and top with turf or stone to stabilize. Never bury siding or cover weep holes.
3) Do I still need a French drain if my grading is correct?
Often, no. Good surface grading solves many basement moisture issues. French drains are useful in specific cases (e.g., tight spaces, uphill water sources), but they should complement, not replace, a proper slope.
4) My patio is level and butts against the house—what now?
Install a channel drain along the joint and regrade the adjacent soil so that surface water has an exit path away from the foundation. Extend downspouts past the patio edge.
5) What is the fastest way to start grading to prevent water in basement?
Begin by confirming a 5% drop over the first 10 feet from your foundation, extend downspouts 10+ feet, and touch up any low spots after a rain. If space is tight, combine a steeper near-house slope with a shallow swale to carry water away.
Basement moisture rarely starts as a mystery. In many homes, the first 6–10 feet around the foundation tell the story: if the ground tips toward your wall, water will find its way inside. By setting the right slope, blending it into the rest of the yard, and pairing it with smart downspout and landscaping choices, you give water a better place to go—away from your basement.
If you’d like help assessing your yard or putting this plan into action, Be Happy Property Services can shape, stabilize, and fine-tune grading so your basement stays dry through every season.

Jacob Bishop is the founder and CEO of Be Happy Property Services. With a strong background in property management and customer service, Jacob has dedicated himself to creating a company that prioritizes client satisfaction and seamless property experiences. His extensive knowledge and hands-on approach have earned him a reputation for excellence in the industry. Jacob’s passion for real estate and commitment to happy living spaces make him a trusted leader in property services.